


I just finished building these cabinets to accompany the washer and dryer pedestal surround I built previously. The cut list for this project is included in that tutorial, so you end up only needing 1 more sheet of plywood to build these upper cabinets. I considered 2 different configurations for the cabinets and ultimately decided that our family would get more use out of having accessible baskets on the bottom than more shelving up top. Let’s get ready to build option 2!
Option 1 Option 2


Before I started assembling, I made all final cuts on my table saw and edgebanded the fronts of my sides, top, and shelves. I made the cabinets to within 6 inches of my 9′ ceiling to accommodate crown molding. If you have 8′ ceilings, cut the sides of your cabinets to 35″ instead of 47″. I made sure to sand the edges of my plywood too. I then primed, lightly sanded, and painted (2 coats) of white paint on all my plywood. I did this because it is easier for me to do touch-ups after all is assembled and installed than it is for me to get a flawless paint finish when everything is assembled. Also, after you prime wood, the wood fibers swell and it creates a rough surface. I can easily use my orbital sander over large plywood pieces which saves me a ton of time and it sure beats the alternative of trying to sand into a corner.
After everything dried (wait AT LEAST 24 hours until you assemble), I drilled pocket holes in my pieces and shelf pin holes for my shelves.


Now to finally assemble! Each cabinet took me about an hour to assemble. If you assemble it faster, it means you’re more proficient than me! If it takes you longer, it means you’re more of a perfectionist! Either way, #winning!
Step 1
Attach top to side using 1 ¼” pocket hole screws and glue. I recommend assembling the unit so the front is on the floor. You will prop the entire unit up when finished assembling.


Step 2
Attach other side to top using 1 ¼” pocket screws and glue.


Step 3
Attach middle shelf 12 1/8″ from the bottom using 1 ¼” pocket screws and glue. This height almost guarantees that you’ll be able to find a basket to fit underneath. I also wanted to be able to fit one of those “cubby” baskets under if I should so please, so I wanted to keep my options open. I also measured my laundry detergents, softener bottles, etc. just in case.


Step 4
Attach back using 1 ¼” pocket screws and glue.


Now your cabinet should look like this:

Step 5
Build another one!
Step 6
*I had to attach the top shelf in place because I have a large chandelier that hangs down and wouldn’t allow for me to raise the entire unit up for installation.
Install top shelf using 1 ¼” pocket screws and glue.

Step 7
Install bottom shelf using 1 ¼” pocket screws and glue. I made 12 1/8″ length spacers out of scrap wood I had to make the installation easier.


Step 8
Install doors. The door hinges you need will be called “frameless overlay” hinges. Frameless because the cabinet we built is called a frameless or European style cabinet, and overlay because the door will cover the side of the cabinet (you won’t see the side of the cabinet because the door will ”overlay” them). For these doors, I installed Blum Blumotion frameless full overlay hinges. They have a soft-close mechanism built right into them and install in a snap. They come in 2 parts:
Hinge (installs onto your door): buy it here.
Mounting plate (installs into your cabinet): buy it here.
To install your hinge, you will need a 35mm forstner bit. I installed these hinges in all of my kitchen cabinets and bought a jig to make everything line up perfectly. You do NOT have to buy the jig. I bought it because I needed to drill upwards of 40 hinge holes and I needed something to speedup the process.
I did not build my own doors for this project. I have figured out that the time it takes me to build a door and the quality of it vs buying online is a no brainer. I have been using rawdoors.net for shaker style doors and have been ordering them in maple if I am painting them. Oak or cherry are great options if you are staining your doors. Maple wood grain does not show through paint and it provides a smooth finished surface. It also doesn’t take stain very well, unless you are highly advanced at staining maple. I am not. Oak, on the other hand, shows wood grain through paint, but takes stain exceptionally well. These are my go-to wood species for their applications because they are readily available to me and are relatively inexpensive compared to other wood species. That being said, build with whatever you can get your hands on!
Step 9
Install interior shelves with shelf pins.
Step 10
Install by screwing the cabinets to studs in the wall. Be sure to check for level and plum before you screw into the wall. You can use wood shims to help square everything up.
Step 11
Fill any holes with spackle or wood putty and do any touch-ups necessary as you wish!
Step 12
Install knobs or pulls on your doors and decorate! You did it!

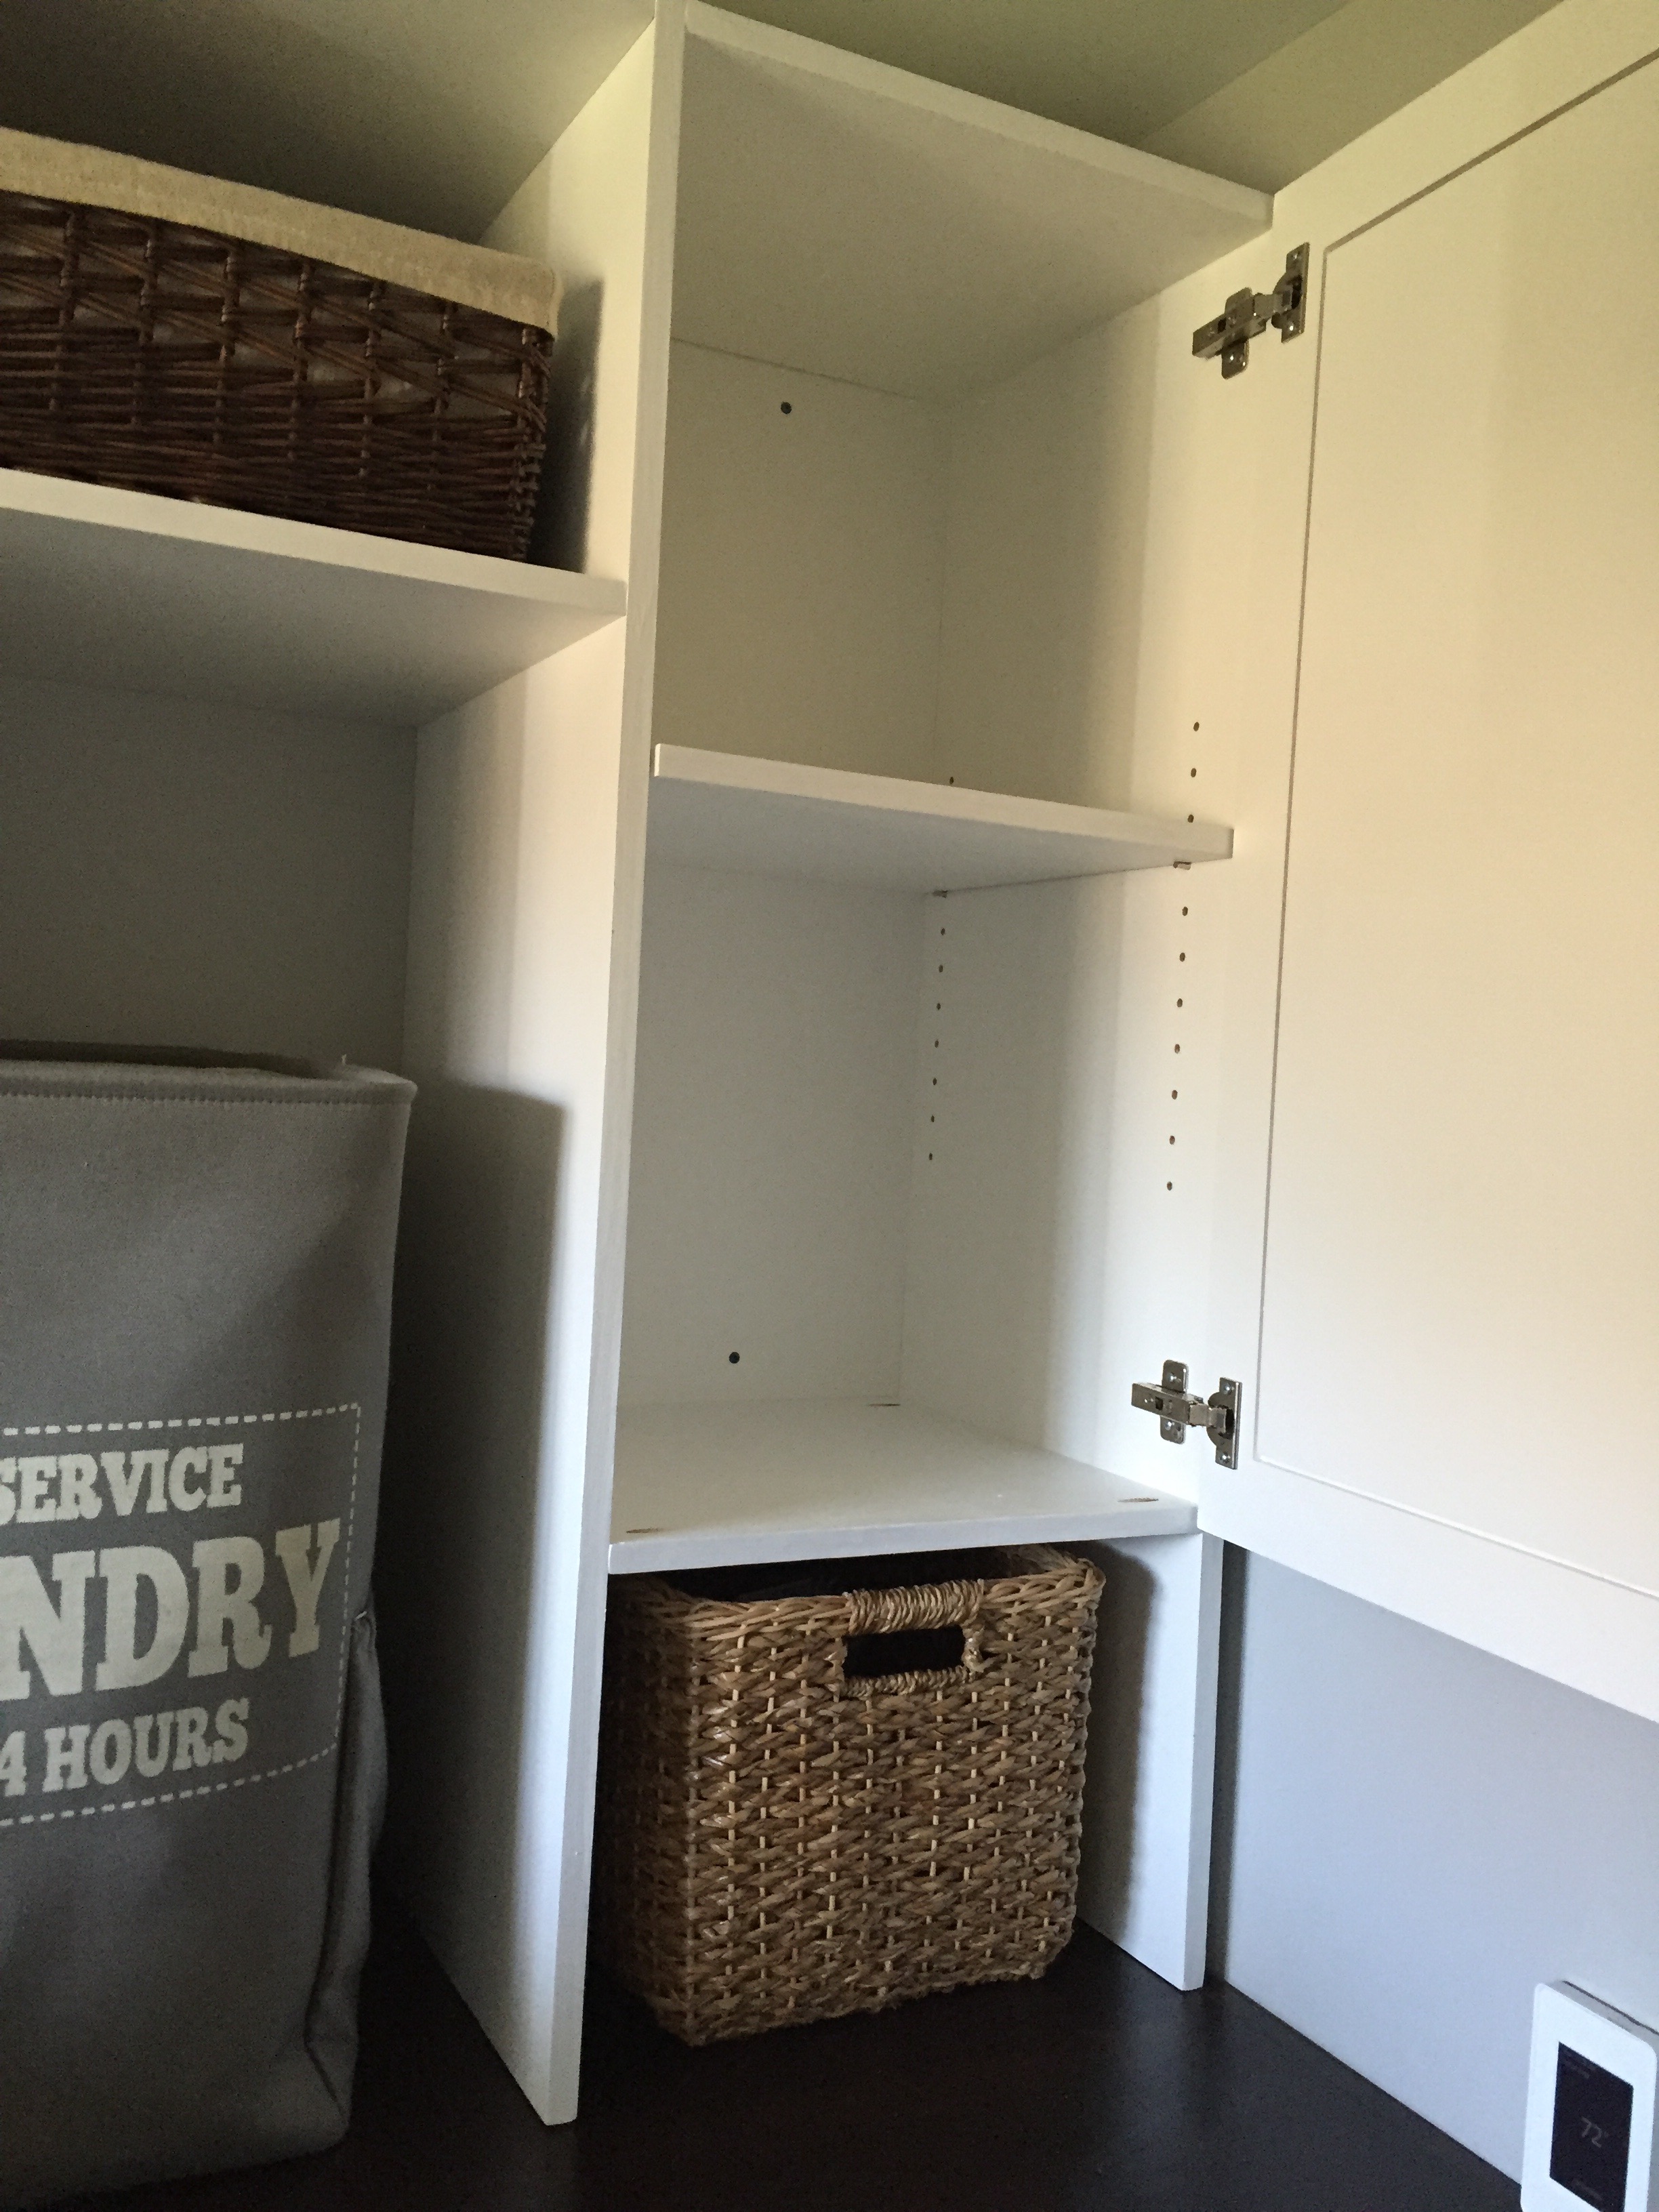